Allow me to reply myself. (I'm not sure if posing code generated by ai code assistant is allowed here. Nevertheless, here it is.)
The following demo app was generted by Claude.ai (free), after a few round of back-and-forth of asking it to fix the issues in the code based on error/warning messages, with a three.js 3D scene embeded that responds to the changes of the shiny ui components.
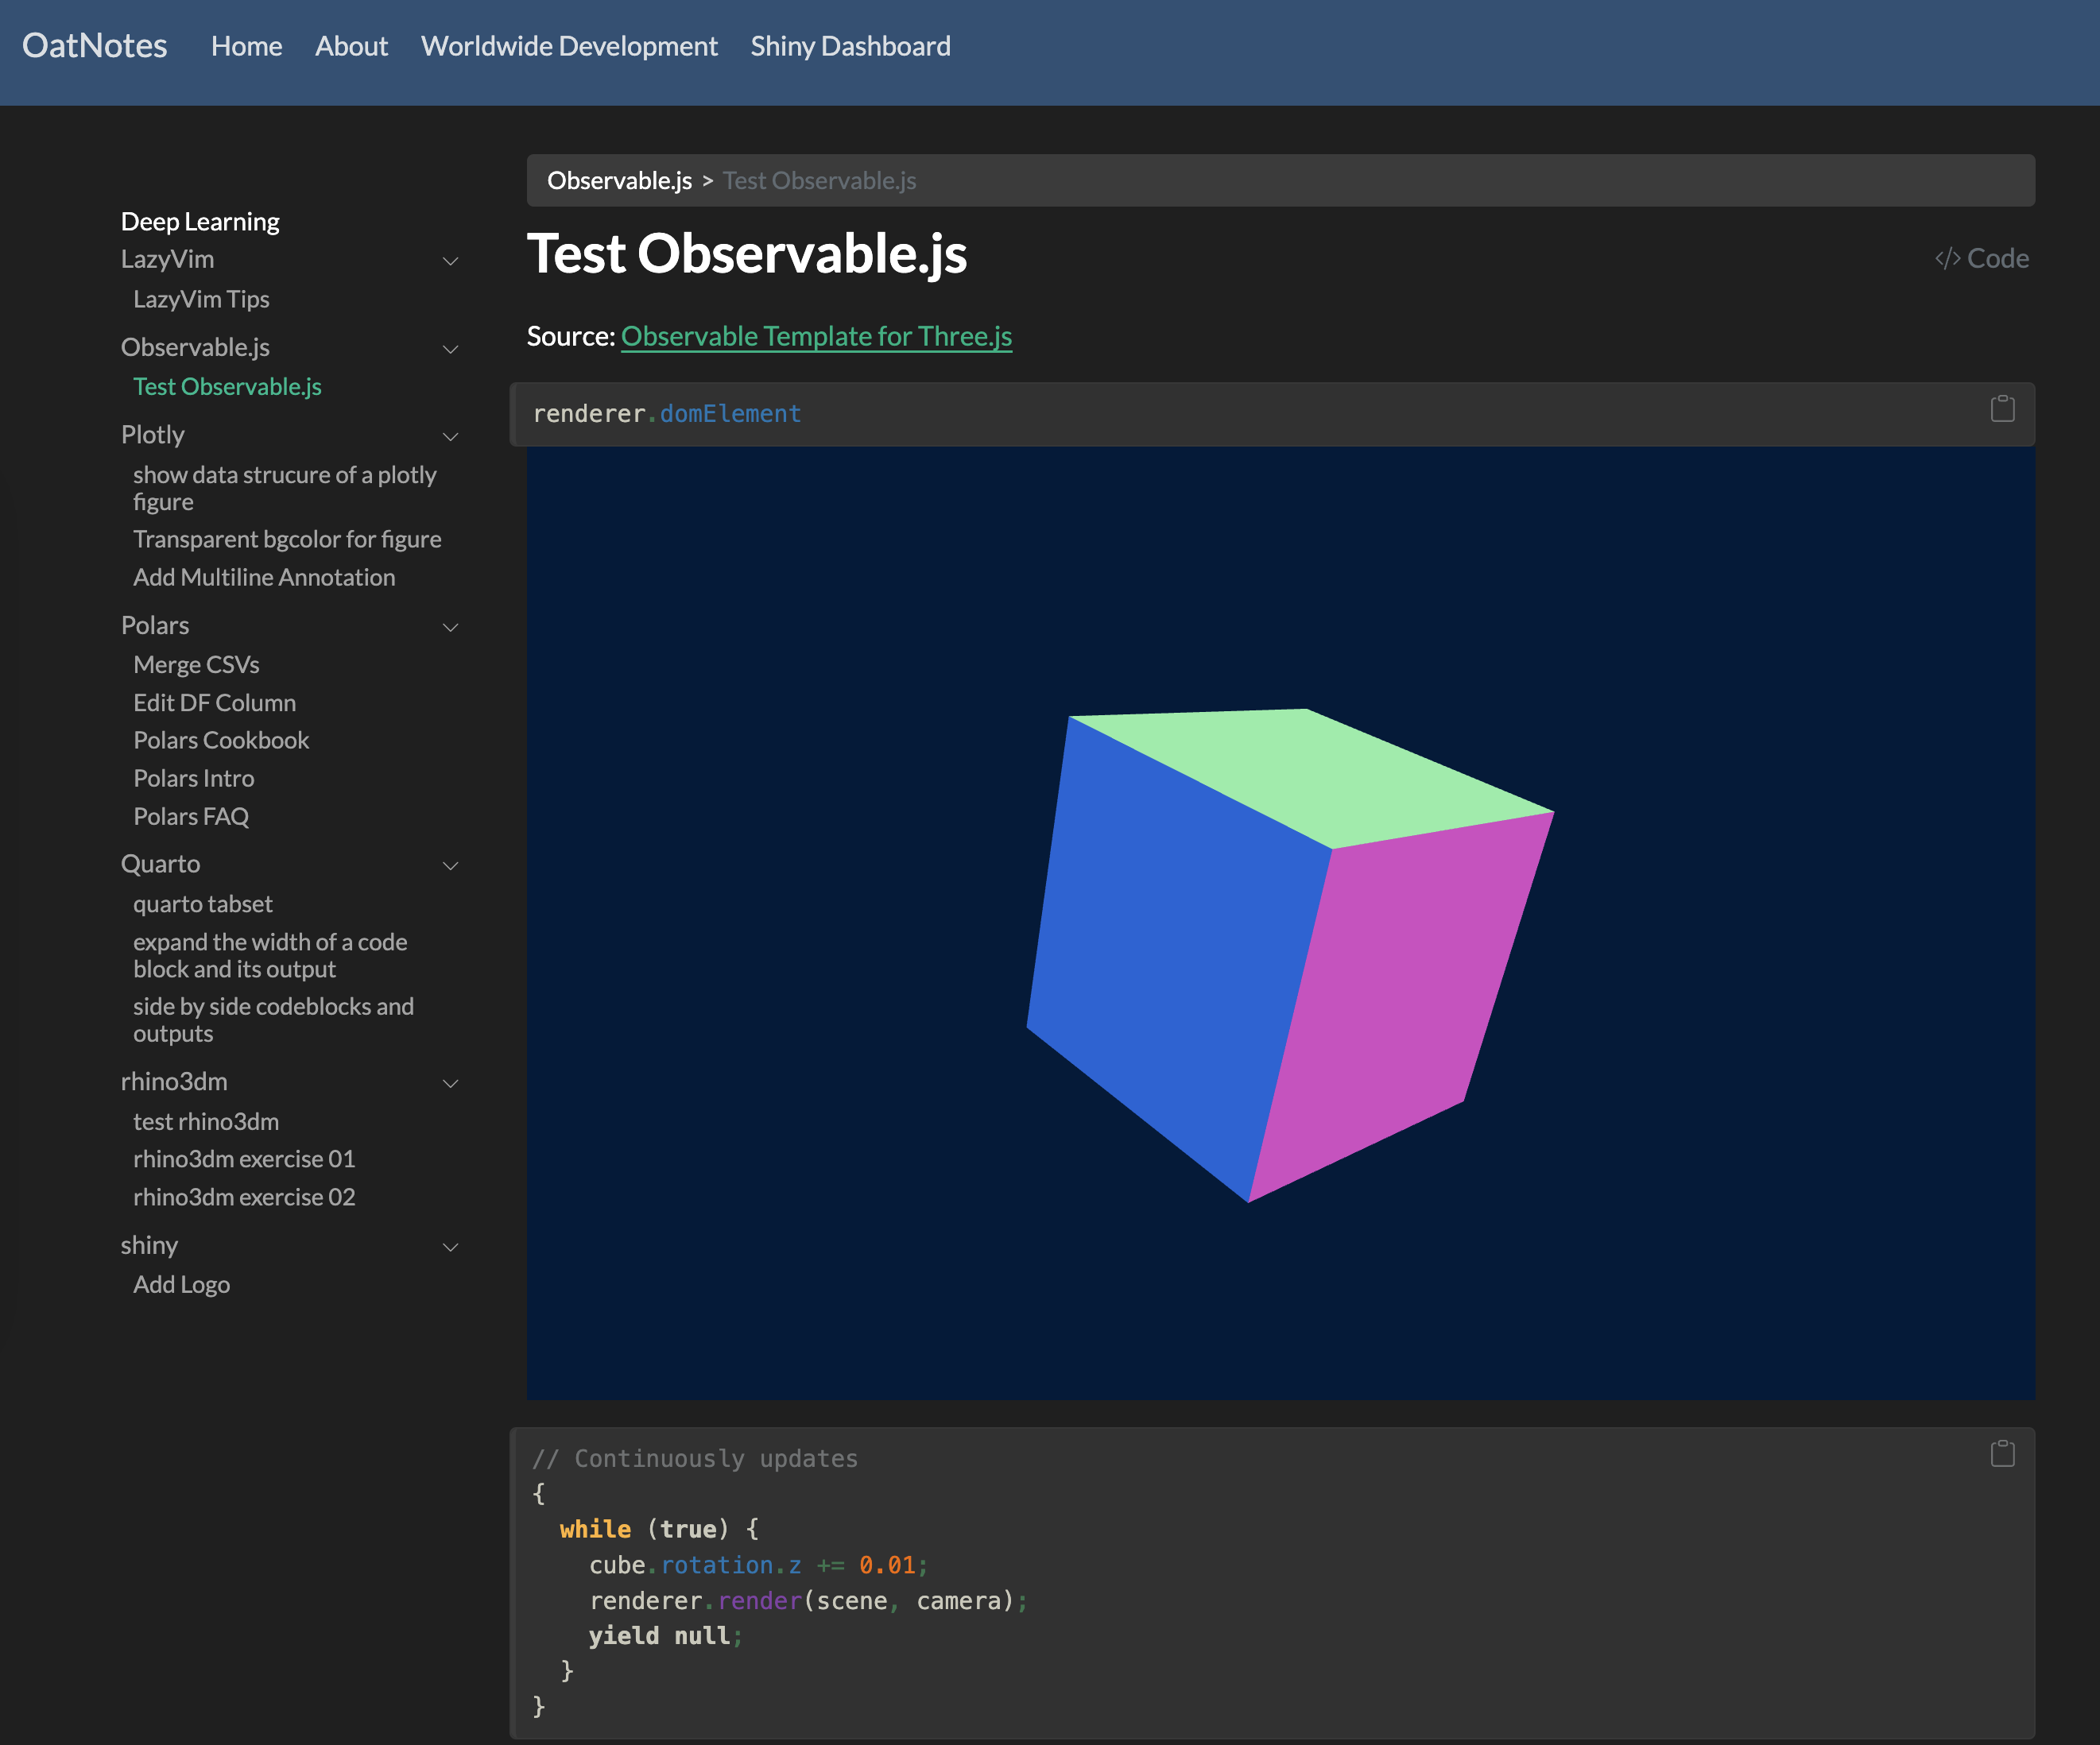
I think it's interesting in that I can use the demo code as a template to understand how to build the interactions between shiny for python and three.js.
What do you think?
# app.py
from shiny import App, ui, render, reactive
import asyncio

# Define the UI
app_ui = ui.page_fluid(
    ui.tags.head(
        # Include Three.js library from CDN
        ui.tags.script(
            src="https://cdnjs.cloudflare.com/ajax/libs/three.js/r128/three.min.js"
        ),
    ),
    ui.h1("Three.js in Shiny for Python"),
    ui.div(
        ui.div(
            id="threejs-container",
            style="width: 100%; height: 400px; border: 1px solid #ccc;",
        ),
        ui.input_slider(
            "rotation_speed", "Rotation Speed", 0.001, 0.1, 0.01, step=0.001
        ),
        # Using proper Shiny for Python color input
        ui.input_text("cube_color", "Cube Color (hex)", value="#6495ED"),
        ui.p("Example values: #FF0000 (red), #00FF00 (green), #0000FF (blue)"),
    ),
    # The JavaScript code that creates and manages the Three.js scene
    ui.tags.script("""
        // Initialize the scene once the DOM is ready
        document.addEventListener('DOMContentLoaded', function() {
            // Scene, camera, and renderer setup
            const container = document.getElementById('threejs-container');
            const scene = new THREE.Scene();
            scene.background = new THREE.Color(0xf0f0f0);

            const camera = new THREE.PerspectiveCamera(
                75,
                container.clientWidth / container.clientHeight,
                0.1,
                1000
            );
            camera.position.z = 5;

            const renderer = new THREE.WebGLRenderer({ antialias: true });
            renderer.setSize(container.clientWidth, container.clientHeight);
            container.appendChild(renderer.domElement);

            // Add lighting
            const ambientLight = new THREE.AmbientLight(0x404040);
            scene.add(ambientLight);

            const directionalLight = new THREE.DirectionalLight(0xffffff, 0.5);
            directionalLight.position.set(1, 1, 1);
            scene.add(directionalLight);

            // Create a cube
            const geometry = new THREE.BoxGeometry(2, 2, 2);
            const material = new THREE.MeshPhongMaterial({
                color: 0x6495ED,
                shininess: 100
            });
            const cube = new THREE.Mesh(geometry, material);
            scene.add(cube);

            // Handle window resize
            window.addEventListener('resize', function() {
                camera.aspect = container.clientWidth / container.clientHeight;
                camera.updateProjectionMatrix();
                renderer.setSize(container.clientWidth, container.clientHeight);
            });

            // Animation loop
            let rotationSpeed = 0.01;

            function animate() {
                requestAnimationFrame(animate);

                cube.rotation.x += rotationSpeed;
                cube.rotation.y += rotationSpeed;

                renderer.render(scene, camera);
            }

            // Start the animation
            animate();

            // Shiny input binding for rotation speed
            Shiny.addCustomMessageHandler('update_rotation_speed', function(speed) {
                rotationSpeed = parseFloat(speed);
            });

            // Shiny input binding for cube color
            Shiny.addCustomMessageHandler('update_cube_color', function(color) {
                try {
                    cube.material.color.set(color);
                } catch (e) {
                    console.error("Invalid color format:", color);
                }
            });
        });
    """),
)


# Define the server logic
def server(input, output, session):
    @render.text
    def current_speed():
        return f"Current rotation speed: {input.rotation_speed()}"

    # Using async function for the Effect
    @reactive.Effect
    async def _update_rotation_speed():
        speed = input.rotation_speed()
        await session.send_custom_message("update_rotation_speed", speed)

    @reactive.Effect
    async def _update_cube_color():
        color = input.cube_color()
        # Ensure it's a valid hex color
        if color.startswith("#") and (len(color) == 7 or len(color) == 4):
            await session.send_custom_message("update_cube_color", color)


# Create and run the app
app = App(app_ui, server)

# For running the app locally
if __name__ == "__main__":
    app.run()